
-
Ideal Areas
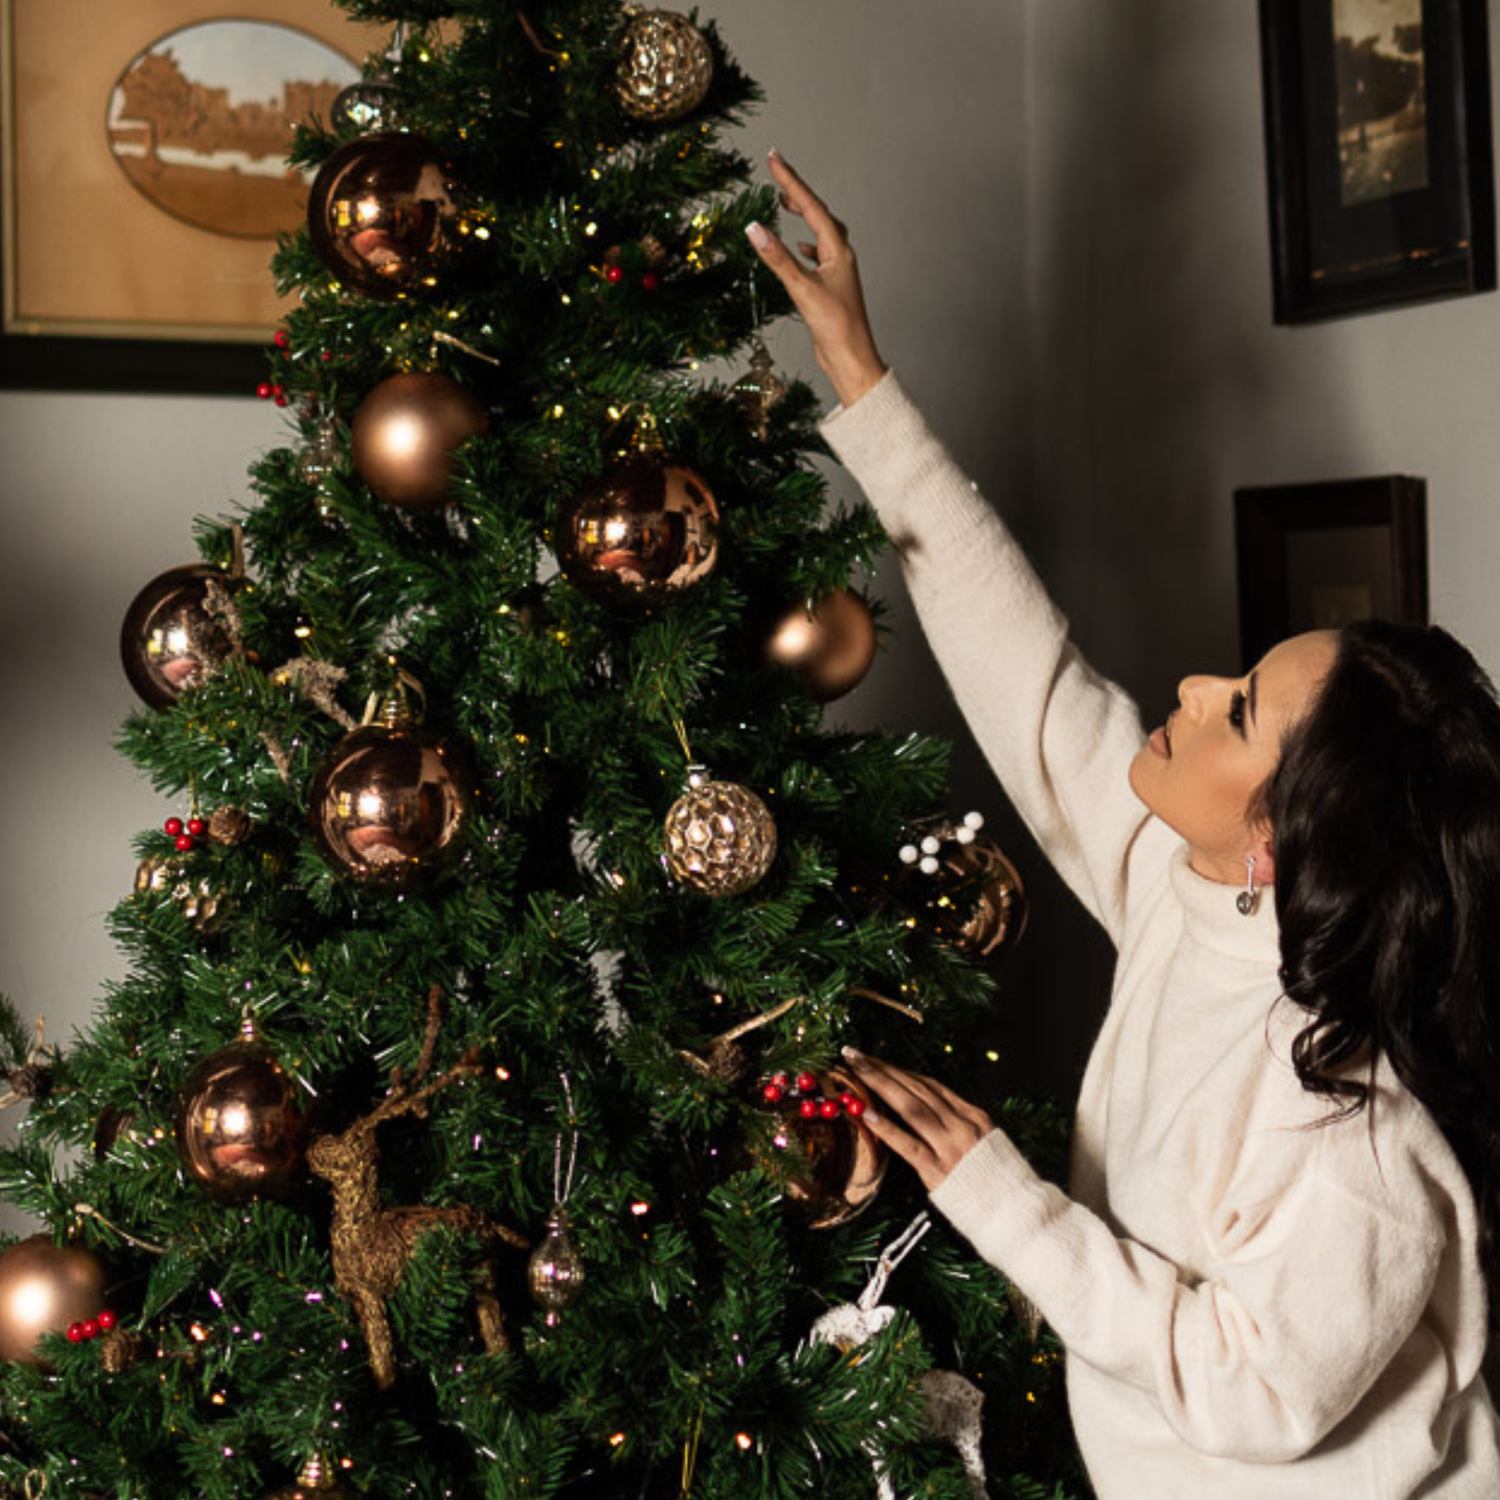
For maximum visibility, place the Christmas tree in the room where the family gathers most often, such as the living room, dining room, or den. Find a spot where the tree can be seen from multiple vantage points and not just from one position.
Consider the possibility of rearranging furniture to accommodate the tree. It may also be practical to set the tree near electrical outlets to avoid unsightly extension cords.
-
Areas to Avoid
Avoid placing the tree in front of light switches as decorations may be accidentally knocked down when people reach for the light switch.
Never place the tree near heat sources, such as heating vents, or the fireplace. Avoid setting it up near the staircase, behind a door, areas with busy foot traffic, or locations exposed to wind or direct sunlight
-
Important Measurements
Before selecting the Christmas tree that you wish to purchase or hire, make sure you have enough space. The Trendy Trees website shows both height and width of each tree. You will need double volume or and area with above average ceiling height to fit in the 3m tree. Christmas tree measurements.

2. Inspect the Pieces
For pre-lit trees, examine the tree sections to ensure that there is no cut or frayed wire insulation, exposed wiring, loose connections, or cracks in the light bases. If there are cracked or missing bulbs, replace them by following the tree manufacturer's instructions for that particular make and model.
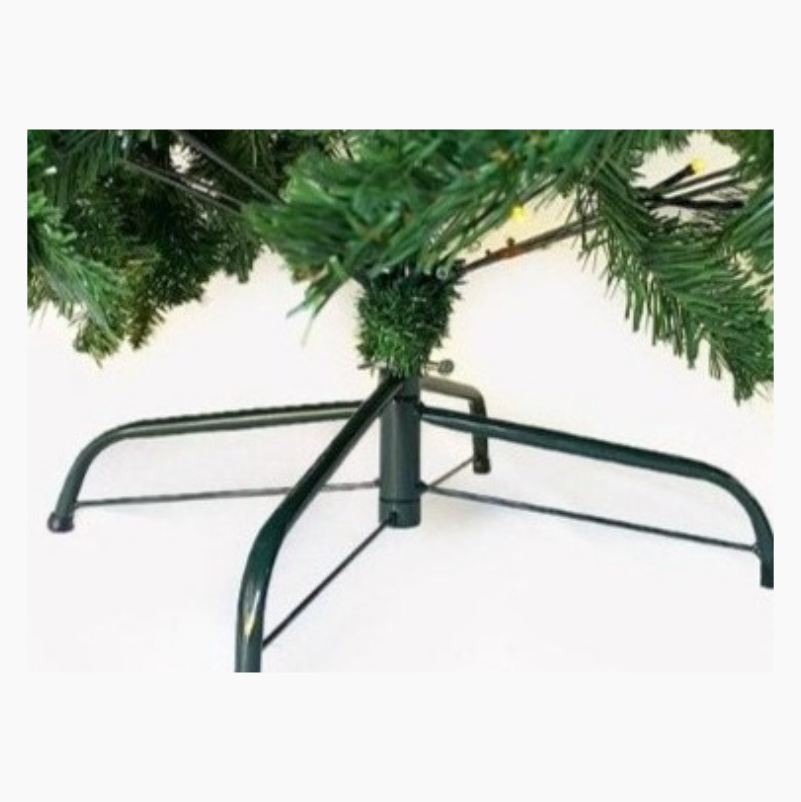
3. Set Up the Stand
The stand is the foundation of a straight and stable Christmas tree. Here are some points to remember:
-
Standard Stands
Most artificial Christmas tree stands are X-shaped and are usually constructed out of plastic or metal. If a stand becomes wobbly or damaged from normal use, check the tree's warranty to see if the stand can be replaced. Some plastic bases may be prone to bending or breaking, so avoid these as much as possible. Balsam Hill trees come with a one-piece steel stand, which is designed to remain sturdy and stable for many years.
-
Setting up the Stand
For pre-lit trees, examine the tree sections to ensure that there is no cut or frayed wire insulation, exposed wiring, loose connections, or cracks in the light bases. If there are cracked or missing bulbs, replace them by following the tree manufacturer's instructions for that particular make and model.
-
Instructions for Standard Stands
For one-piece tree stands, such as Trendy Trees, pull apart the legs until they are X-shaped. Next, align the holes in the base and the flange, then screw the eye bolt through the flange. The flange is the circular piece of metal that goes between the eye bolt and the hole of the base. For two-piece stands, slide the pieces together and press the center hubs until they click into place.
Assembly Directions
-
1.
With the hinged branches folded up and tied with a ribbon, take the bottom section of the tree and place the pole into the tree stand.
-
2.
Once the pole is fully inserted, tighten the eye bolt to secure and center it.
-
3.
Untie the ribbon and let the branches fall into place.
-
4.
If you have a pre-lit tree, plug in the lights to make sure all the bulbs are working and evenly spaced. See "How to Light a Christmas Tree" section for a detailed guide.
-
5.
Fluff and shape the branches, making sure to lift and separate the inner branches to hide the trunk and make the tree look full. Check the branches from different angles to see if you missed any spots.See "How to Shape a Christmas Tree" for a detailed guide.
-
6.
When you're satisfied with how the branches and lights look, repeat steps 1 to 5 for the next section.
-
7.
Do the same for the remaining sections, stopping every now and then to check how the tree looks from a distance.